So, this post is exactly what the name says....our biggest project to date! Who in the world is the crazy person who thinks painting your kitchen cabinets when you move in is a good idea?

(Now all we need is a new counter top, hardware for the cabinets, and new appliances!)
I just want to tell you all, before you decide to become ambitious and do a huge project like this, this was NOT an easy project. Maybe it wasn't easy for us because we are first time diyers, but boy it took us a lot longer to complete than what we thought! By the end of this project, our bellies and marriage were at wits end. Bellies in the fact that I don't think I can consume anymore Jimmy John's for at least another year! Marriage in the fact that we were both so sick of painting and seeing no results that we each gave up multiple times and left the work for the other person (never a good idea). Not to deter all you guys out there because it is definitely a do-able project, but it's just not an easy one. So enough rambling and lets get started on how we actually completed this project to look this pretty :)
Tools that you will need for this project:
-sandpaper (lots of it)
-paintbrushes
-paint rollers
-Paint (whatever color your heart desires)
-Primer
-Wood finish/gloss (we didn't use this but some people do)
-spray painter gun (not necessary and I will get to that)
-blue painters tape
-plastic sheet
-tack cloth
1. We first started by removing all the doors and the hardware from the doors. We didn't have to empty out our cabinets because we had never moved in. (That was the genius idea during this project)

Now something that I read in someone else's blog, make sure you LABEL all of the doors and drawers before you take them down so you know exactly where they go when you put them back up. That is why you see small pieces of duct tape on the counter.
2. This step is very important and you want to make sure you don't skip it. You want to wash the cabinets. I just used hot water and a teeny tiny amount of soap. You want to make sure you get all the grease and grime off that accumulated throughout the years of cooking. Once we cleaned, then we sanded down the cabinets.

3. After sanding, we washed it off again with just warm water. Then once dried we took a tack cloth to get off all the extra sand that we may have missed (very important so you don't have little specs on your cabinets).
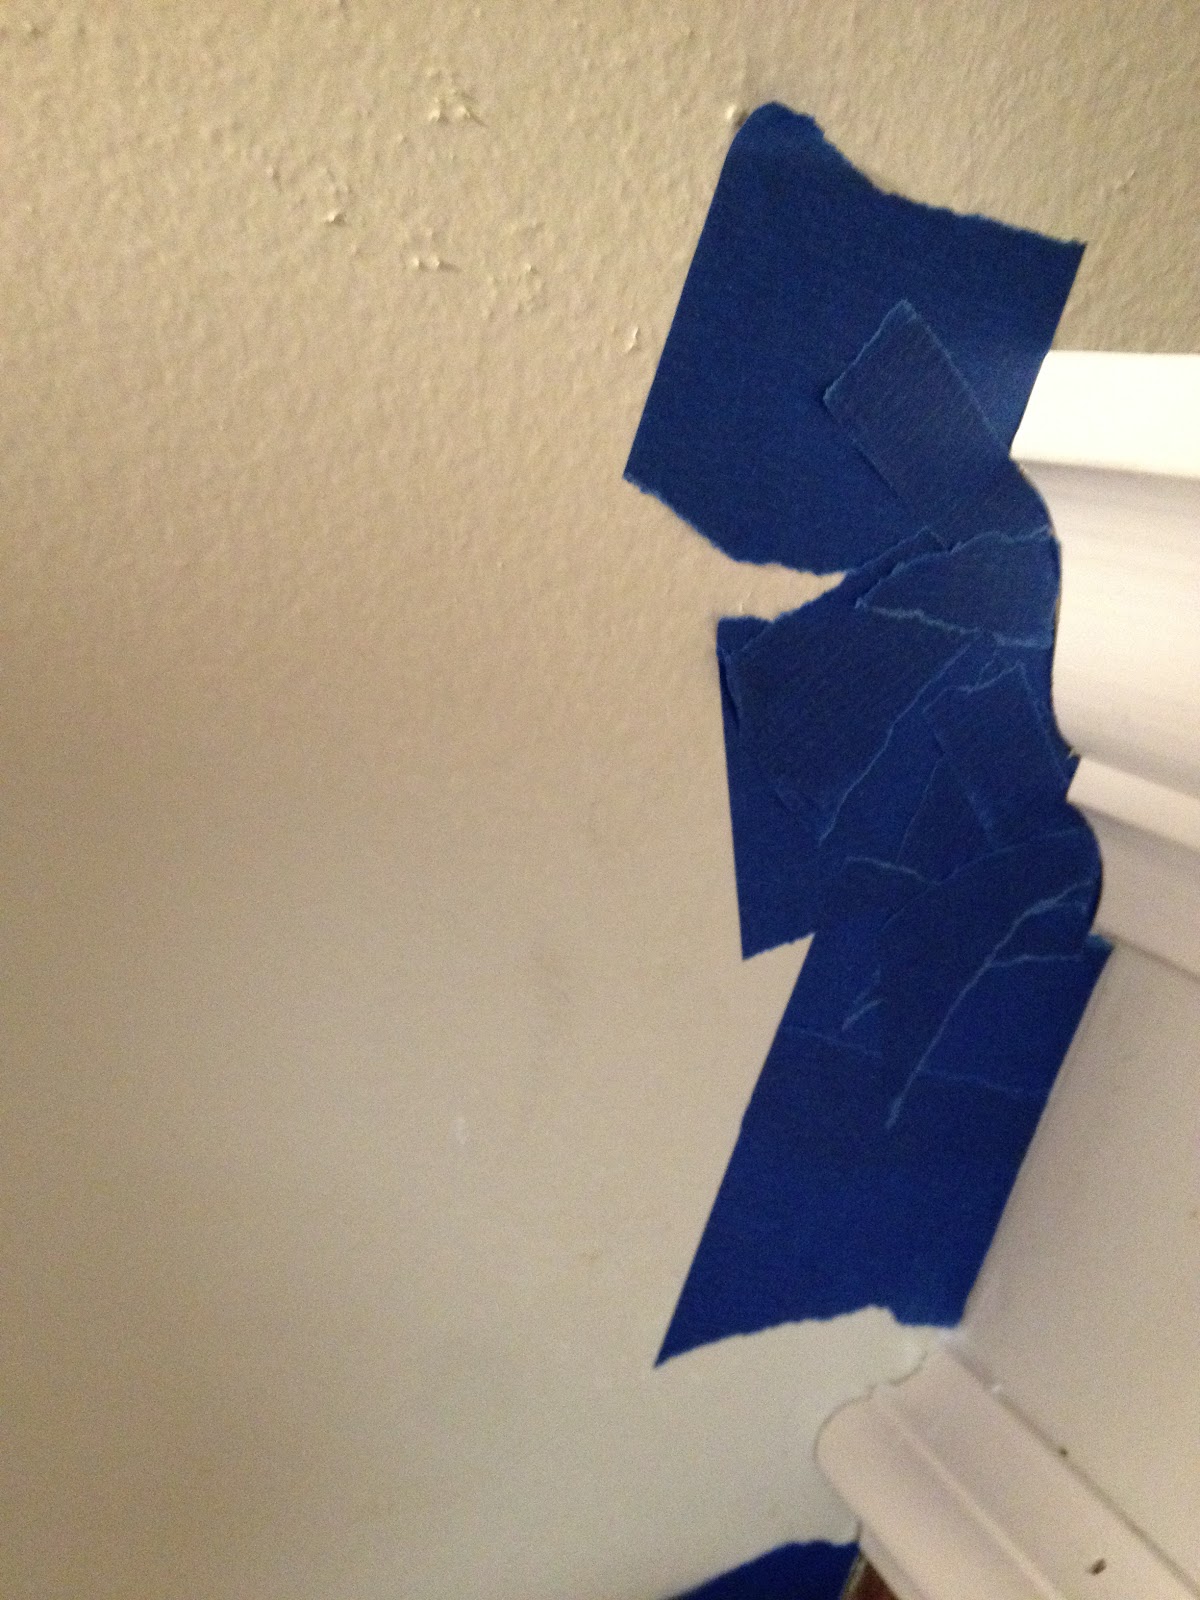
4. Now, if you haven't already done so, we taped up all the cabinets and walls.


(We used the plastic sheet to cover our appliances, floors, and counter tops)
5. Time for the exciting part! You finally get to start priming all of the cabinets and drawers.


As you can see we set up the cabinet doors and drawers in the garage. If we could go back we would still set up in the garage...but NOT open up the garage door. Whenever we opened the door little dust and flakes would come in (duh). Our project kept getting ruined and we would paint and then have to sand..and so on and so forth.
6. After we finally put on the 2 coats of primer it was time to paint. In total we put on 3 coats of paint (and maybe a few more in a couple of rough spots). For the paint, Tony decided to go ahead and buy a spray paint gun because he thought it would be easier. Not necessary though. After he did a coat, he didn't realize that you need to roll it to make sure that there aren't any extra "spots." No biggy just added some more correction time.


Unfortunately, I don't have any pictures of Tony using the paint gun since we work opposite shifts most of the time :(
7. Once all the painting is done it's time to hang up the cabinet doors and put in the drawers again! Woohoo!! We were done and it sure was time to celebrate!

This project with the paint, paint brushes, primer, rollers, sandpaper, tack cloth, and tape (we aren't going to include the paint gun since that's not necessary and we already had the plastic wrap) that we had to buy cost us a little over $100 bucks. I would say it was definitely worth the money!!
Let's compare how different our kitchen is finally starting to look from when we first moved in!

Slowly but surely it is making a come back to 2012! Remember, they do say that patience is a virtue...
No comments:
Post a Comment