Monday, November 5, 2012

Staircase Reveal

I am so so sooooo sorry that I wasn't able to post this on Friday.  Life can get the best of us sometimes, right?!  Well, here is the big reveal now!  The moment that you all have been waiting for...the completed staircase!!  I just want to make another special shout out to Jared for all the hard work that he did!  This project was wayy bigger than Tony and I could have ever done on our own!  He did such and amazing job and we are so very lucky to have such a great friend like him! 

Picture of the half wall....and picture of the finished product!

Look how much it opens up the space!
We absolutely love it! 

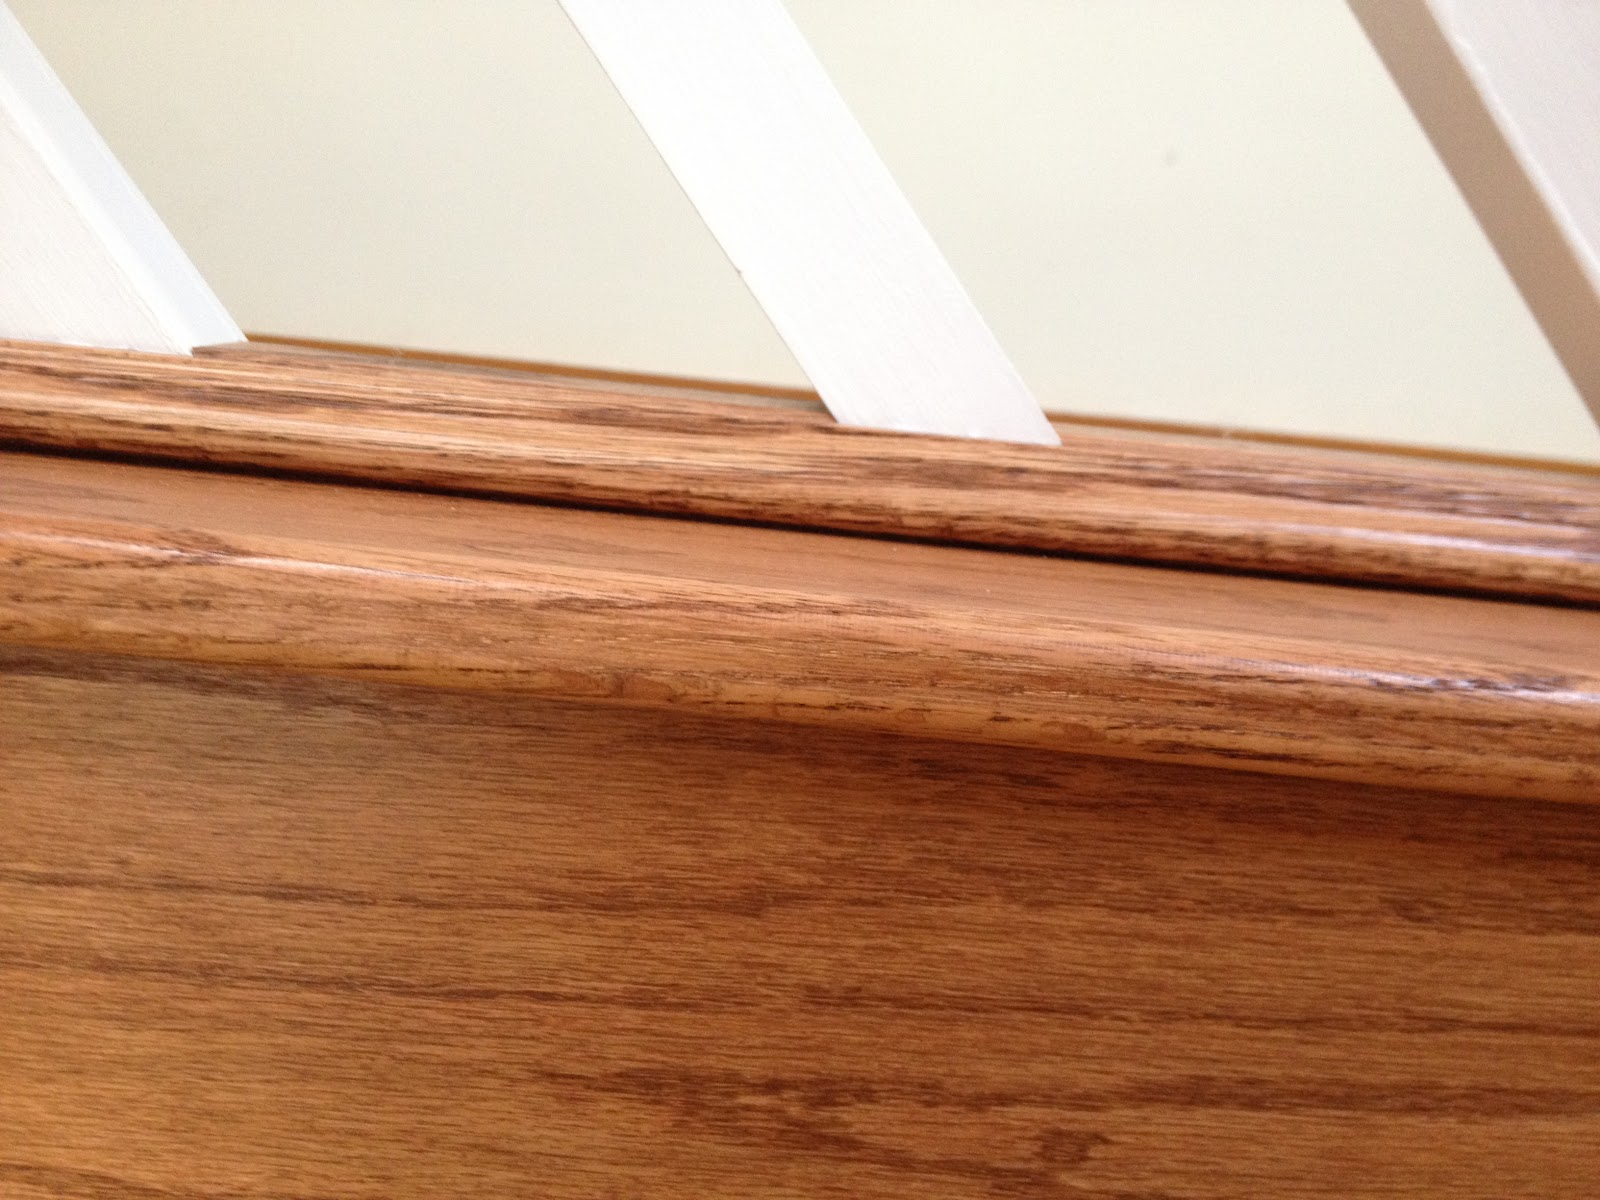
We love all the small detail that he put into the staircase....
(Jared did a molding type design)


We love the fact that we went with the thick wooden balusters to give it the country feel versus iron spindles. 


Now, the only thing left to do is to get the carpet guy out here to lay the carpet back down in the areas where it had to come up (minute thing) and paint where the old railing used to be hung....

.....good thing we are planning on repainting the entire room.....once we get the guts to decide on a color for this HUGE room!

Best thing about this project being done is that now we can finally talk about the main bathroom redo!  More to come on that...

Thursday, November 1, 2012

Fall Fun

Ahh... I did it once again, I haven't blogged in a week!  I blame it on the day job...er..wait I mean the night job...er...oh shoot you all know I work days/nights so you know what I'm talking about! 

Anywho, I hope that you all had a Happy Halloween!  Before I went to work I was able to dress Biggs up in his dinosaur costume.....


....so precious! 

Tony told me Biggs had no idea what to think of all the trick or treaters...I am sure he was probably thinking somewhere along the lines of "why the heck are all these people coming to the door and no one is petting me!"  Good thing I cuddle and play with him as much as possible on my days/nights off.

So before Halloween came around Tony and I were able to decorate some pumpkins.  Mine, well didn't turn out as well as I had hoped...Tony's on the other hand turned out great!


Can you guess which one is who's??

I thought it would be a really cool idea to put glow in the dark paint on my pumpkin instead of carve it.....obvious fail...

Tony's ...well his is amazing and he didn't even use a tracer which makes me feel even more jealous when I look at his compared to mine.

 ...and Bigg's looking up at Tony thinking "why is that crazy lady taking so many pictures?"


Now that Halloween is over its on to Thanksgiving!  Another awesome holiday, which you all know includes lots more calories to consume!  I love this time of year because I love all the fall colors.  I had to take a couple pictures of the trees in our yard and all their pretty colors. 
 

 Our yard is full of multicolored trees...this picture doesn't even do it justice!

Trees unfortunately means leaves, leaves, leaves!  Here are a couple pictures of the day Biggs and I decided to rake the leaves.  More like I raked and Biggs just played!

"ahhhhh help me I am drowning in leaves!!" 
 ...getting myself out...
...Okay this is better!  I can pose and look cute for a picture now!

Oh and I want to tell you all...the stairs are finally completed!  The final result will come tomorrow!  Happy official Thanksgiving season everyone!!

Tuesday, October 23, 2012

How to Stain....and NOT Make Our Mistakes

As promised today we are going to talk about staining, sanding, polyurethane....and REPEAT!  During this whole staircase process this was the one job that Jared gave us.  Tony and I have never done this before so we thought it would be a fun couples project to do.  

This is a picture of the staircase not stained....and then of it stained!


Starting from the beginning...
Tony and I went to Lowe's and decided on the color of stain that we wanted to use.  There were so many to choose from it was a little overwhelming.  I personally wanted a dark dark brown, BUT since we aren't planning on changing out the laminate floors that are already in the living room, a dark wood would have been way too much of a contrast.  So, we decided on the Pecan color by Cabot.  We needed just 2 of the small half pint size cans for the entire staircase and the stair railings.   

It probably would have been a good idea to take a picture before we got the stain all over the place..whoops!

We also had to decide on the type of polyurethane we wanted.  There are 3 different options: satin, semi-gloss, glossy.  After discussing it, we decided to go for the satin type.  Neither of us were too fond of the idea of having a glossy stair rail.  Even though, if we had the fancy type of staircase where you can see each individual stair and didn't have carpet on it, we probably would have chosen a different type of polyurethane...

We used the brand Rust-Oleum (because it was the cheapest).  We bought the gallon because we needed to put on a total of 3 coats.  It was way too much for this project, but we have upcoming bathroom projects where the leftover's will come in handy!

Also while at Lowe's we bought more tack cloth, paint sponges, painters tape, and sandpaper.  We bought 3 types of sandpaper: 320 grit, 220 grit, and 120 grit.  Back home it was time to tape up the whole area.

Now time for the sanding and staining!  Per Jared's instructions we needed to sand down the entire area with 120 grit sandpaper before staining.  Roger that!  Once that was completed the staining began.  We first wanted to practice on a piece of scrap wood, even though Jared said there is no way to mess it up...he must not know us that well.  Once we were done practicing, the staining began!

 I was a nervous nellie when we first started!  I think the stain color goes well with the floor though.

 First newel post is done!
The last shot I took before the stain was 100% done....on this part.

Once this part was finished it was time to start on the railings that Jared built.  The smaller railing wasn't so bad, but the larger more complicated one..well that was a different story.  To be honest actually, we probably put a lot more stress on ourselves than needed but we knew that Jared worked a while getting the arch on so we definitely didn't want to mess it up! 


Tony is working on the arch part right now.  Needless to say, that out of all the parts, was the part we screwed up!  We looked at each other the next day, took a deep breath, and said "lets figure out a way to fix this and NOT tell Jared!"   

So...this is how we fixed it.  We just resanded it down so the stain came off and attempted to stain it again.  I unfortunately didn't take a picture of our mistake.  Essentially, it was stain that dripped down that was never wiped off..so it looked like streak marks.  I will go over how to stain below because I actually took pictures of the process when we were fixing the mistake.
After sanding we then reapplied the stain.  When you stain, depending on how dark the stain and how long you leave the stain on, will determine the color of it at the end.  Since we didn't want the area to be super dark we applied the stain below....

 Then immediately wiped it off!  Stain isn't like paint, you have to add the extra step of wiping it all off.  But once you wipe it off, it looks nice because that is when you get to see all the grain in the wood.

Woo-hoo we were able to fix the problem!!

After all the staining was completed then came the polyurethane.  We waited the rest of the night and didn't start the polyurethane until the next day to allow the stain to completely soak in.  

Note: Polyurethane is a very very thin, liquidy, white over coat to protect your wood.  Okay well in the can it is white, but when you put it on correctly and it doesn't run, then it's clear.  This is the stuff that is going to determine how shiny or not shiny your wood is.  Jared suggested that we do a total of 3 coats.  Once again....Roger that!  

After the 1st coat of polyurethane was completed and dried (it takes about 12 hours) then time to sand....lightly.  Another mistake we made.  When we went to sand with 220 grit sandpaper after the first coat, we sanded a little too rough and needed to go back to some of the areas and re-stain.......geesh! 
Always sand LIGHTLY!

Okay, so the fixes are done and no more mistakes happened!  After coat #1 polyurethane was completed and we waited a day, we then sanded lightly with the 220 grit sandpaper.  Then we took the tack cloth and wiped away the excess dust.  Coat #2 polyurethane was applied.  The next day we then sanded coat #2 lightly with the 320 grit sandpaper.  After that was done and we cleaned off the left over dust with the tack cloth the final coat of polyurethane was applied!  Woo-hoo!  It looks great and we are very happy!

We still needed to paint the balusters also.  Like I said before, this was once again a lot bigger project than I thought!  We decided to place the balusters like such...


Doing it this way was a lot easier because we could do all 4 sides at the same time.  We needed 42 balusters total.  Since we painted these white it is pretty self explanatory.  2x4's are what the balusters are nailed into for the painting process.  We primed then painted 2 coats (3 in some areas) of white.  We bought a gallon of white paint (which we clearly don't need all of it) and will use the leftovers to paint all of the trim in our house white!

The next step in all this is putting up the balusters and the railing....


....just a couple of fun picture's of Jared measuring the railing before we stained and finished it.

More to come in a few days of the FINAL project!  So excited that I can see the light at the end of the tunnel....and it's sooo close!

Monday, October 22, 2012

Newel Posts are UP...and the Staircase is Almost in Service!

Let's go ahead and talk about the status of our staircase.  Like I said before, our friend Jared is the main carpenter behind all of this work.  My initial goal was to write about the entire process from the demo, to the building, to the staining and finishing.  WELL, that's not going to happen unfortunately.  The building was a way larger project than I can even comprehend.  I tried my hardest to keep up with Jared and figure out what he is measuring and cutting and why...but I couldn't.  So basically, the idea that I had that I could become a carpenter during the demo was completely shot down when we (I mean Jared) started building.  BUT, Tony and I were able to do the staining and sanding and finishing!!  So we can say that we did contribute in some small way. 

Below is the last picture that you saw on the progress of the stairs.

I do remember some of the basic steps that happened and will talk about those....there's like a total of 3.  Now that the demo is done, it's time to first put up the newel posts that Tony and I had decided on.  I knew that I wanted to go with the thicker, boxier ones because I like the country look to it.  Now some people may think that the look isn't "country," but I am just saying that I do.  The modern-country feel is what we are trying to go for during this process of turning our house into a "home."

Before Jared could place the first newel post he needed to cut some of the laminate wood floor.  As you can see below by his trace marks, the newel post is thicker than the space where the half wall was.  Obviously if he didn't cut back the floor then the newel post would be crooked.  


  After the wood was cut back, then the first newel post was placed!

The first newel post was the easiest to place compared to the other 2.  The cutting and measuring that needed to be done for the last 2 was where I got lost.  The only thing that I really remember is that to make the railing to "code" it needs to be between 34-38 inches high.  We decided on the 36 inches high.  

I do have some picture of the process, I just can't explain what the heck he was doing.  So below are pictures of Jared working hard and me unfortunately watching because I was lost after step 3...  
 Jared and the awesome suspender tool belt of course!

Below is a picture of the other two newel posts.  We ordered 3 total newel posts.  Jared measured the third newel post and a bunch of different angles on the wall so he could cut that one down to size so it would be flush against the wall.


All the newel posts are officially up!....


Also, if you're looking at the above picture and wondering why he made the top 2 newel posts go down along the wall and not cut that piece off, well it's because of me.  I wanted a thick border below the staircase because I thought it would give it a more modern country look.  Below is a picture of the border ...


 I really like the look that it adds.  Jared has done such an amazing job so far!  Now, the work that needs to be done is work that Tony and I are actually doing ourselves!  And it's our first time doing it!  Tomorrow I will be talking about the staining and finishing process with the polyurethane.  We have already screwed it up once so lets hope we don't screw it up again...Stay tuned....


Here's a little bonus too...  This adorable picture I took of our malshi, Biggs, the day we screwed up our one job Jared gave us during this whole project.   


 ...that little spec to the left, that's Biggs running down his hill in his yard.  As frustrated as I was that day, this image right here brings me back and reminds me why we wanted to buy a house.  Makes me think, if I can love this animal sooo much, I can't even comprehend the love I am going to have for our future children...