Friday, October 19, 2012

Melted Crayon Art

Let's take another breather from all the hardcore house work and focus on something a little more do-able for...well people like me.  When our offer was accepted on the house, to the time we closed on it, it was about a month and a half.  Clearly, due to the long wait, I was pretty antsy just thinking about all the different ways I wanted to decorate the rooms.  I wanted to go out and start buying patio furniture and lights and bedroom sets.  Basically, Tony told me to slow it down and that I would be crazy if I went out and bought all those things before we moved in;  I guess looking back now, that would have been pretty crazy.  So instead of going out and buying furniture, I decided to paint a portrait for the new house (for the movie theater room in the basement to be exact).  I saw a melted crayon painting idea that I absolutely wanted to try.  It seemed pretty simple, and boy it was!

I went to Joann Fabrics and bought:
 -canvas (however small or large you want it)..mine was $12.00
-hot glue gun (I bought the cheapest one $2.50)
-Sharpie Paint  marker, $5.00

I also went to Big Lots and bought:
-crayons (only $1.00 for 1 of the BIG packs...score!)

I told Tony of my idea and he agreed that painting a canvas is a lot more do-able project than buying furniture.  So being the computer genius he is, we took a picture of ourselves (below) and he turned it into a silhouette that was large enough for the canvas that I bought.
Don't mind our messy apartment....remember we were in the process of moving.

After he turned that picture into a silhouette on the computer, I traced the picture onto the canvas with a pencil.  I placed a light underneath the canvas to help me be more exact.
(Sorry for the lack of pictures during the tracing)

Next came the fun part, melting the crayons!  Since we decided to hold the umbrella for our picture, I chose rain-like colors.  I used a couple different light and dark blues and grays.  I put the crayon in the spot where the glue normally goes and taa-daa, you get drips of melted crayon!


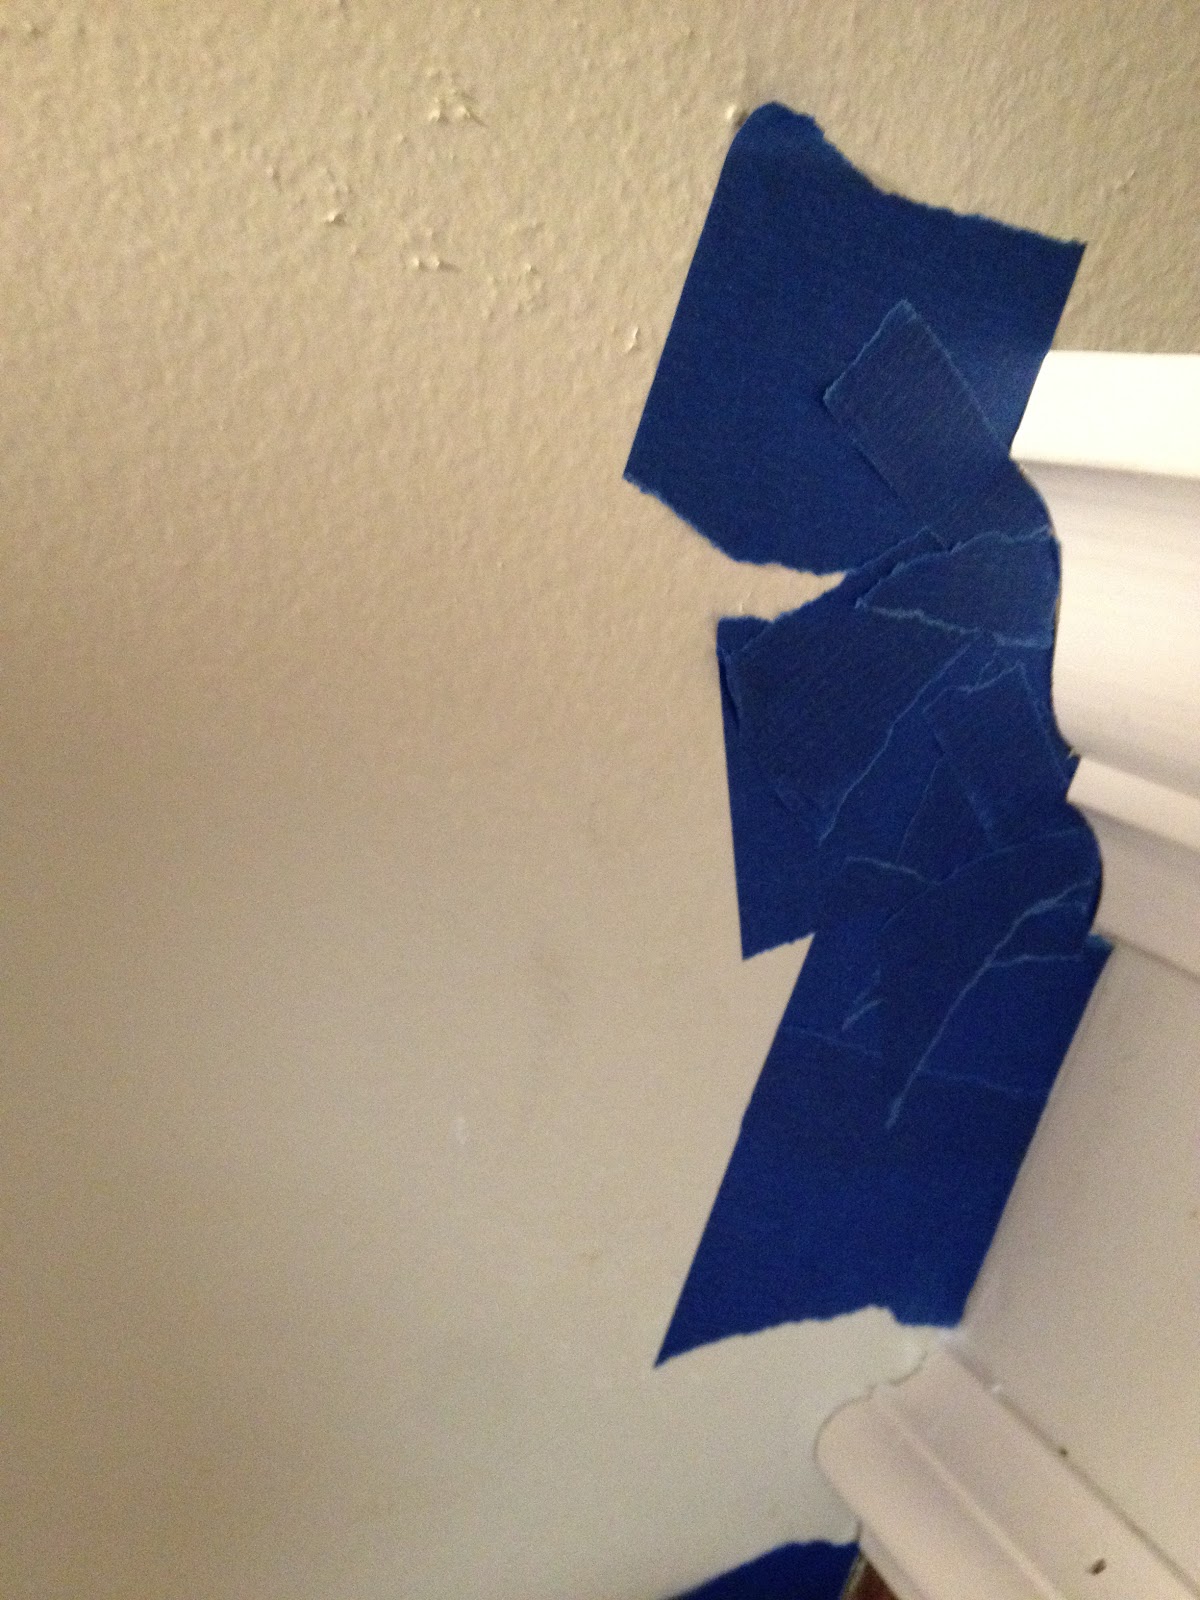
Now before I got too close to the tracing of Tony and I, I placed tape that we already had over it so the melted crayon wouldn't run down on it.  Since the umbrella was at weird angles I had to cut the tape in small pieces so it would ONLY cover the parts of the umbrella and not above it.


After taping, I continued melting the crayons with the hot glue gun until I felt like I had most of the canvas covered.  Once it was covered I removed the tape and used the Sharpie Paint for the silhouette of Tony and I.


Once the silhouette was completed the project was finished!! We were very happy with the way it turned out!  I would post the picture of the canvas hanging in the theater room, but we haven't hung a single picture yet...whoops! 


This project in total cost us $20 bucks.  I definitely think we got the biggest bang for our buck on this one.  Plus, it's actually personalized to us and not just a random silhouette of two people.  So now it's your turn to get on out there and be creative!

Thursday, October 18, 2012

80's Half Wall Finally Comes Down!

When we moved into this house it definitely had some "80's" touches to it...for example, our half wall.  I remember when we first looked at this place my first thought was, "how in the world am I going to hang garland from that during Christmas time??"  I know this is clearly a first world worry, but since we have been saving for this house for the past 3 years I figured it was semi-okay.  Thankfully, we have an amazing friend named Jared that has the ability to make our vision for this house a reality.  This project is not quite completed because Tony and I are still in the process of staining the wood and painting the balusters before Jared puts them up!  Given the fact that Tony and I have never stained wood before, we can say that counts for our DIY part.  For now though lets talk about the part that was the most fun, the demolition!

First thing is first, we needed to take down the trim...

 Tony is clearly starting to have fun, but boy is it going to get a lot more fun!
Below is the last look at the half wall!  Jared drew a line where the cut needs to happen.

Now that the trim is down it's time to start cutting!  Jared owns a sawzall which is what we used to make a straight cut through the drywall and 2x4's.
 Tony is having fun using this new "toy" as he thinks of it.  Jared is following behind him with a shop-vac to minimize all the dust. 

Just as an FYI.  Before we started this whole demo project we covered our laminate floors with our old moving boxes for protection.  We also moved all of our furniture out of the way and placed cloth over them for protection.  Lastly, we put carpet protector over the stairs so we don't have to buy all new carpet..gotta save some money any way we can!

NOW it's time for the fun part...putting holes in walls :)  As you can see below, this was the part I was most excited about!

And then there's Tony with the machete...

This part was so much fun that our friend Annie even wanted to partake in it!


And we even made a video for kicks and giggles, so we can look back years and years from now and think....boy was that fun lol...


Alright, well after we had all that fun, it was time to start legitimately tearing down the drywall.  Because we had used the sawzall the drywall was able to come down in big pieces.


There were a few parts that needed the sawzall again, but that was fine with me because it gave me the chance to use it!
 It was so much fun!  I think I should become a carpenter instead of a nurse....

At the end of this awesomely fun demolition this is the final product!  
...But what is to come next is once again a way bigger project than I ever anticipated.  Why does everything look so simple on HGTV?!  Stay tuned for the final final product!

Wednesday, October 17, 2012

Adding a Little Bit of Fall

I figured we would take a break for a little while (aka a weekend) from all the tough house projects and do something on the more "fun" side.  One weekend when Tony and I decided to go back to our hometown to visit our families, I was able to have a girl's craft night with my bestest!  Let me tell you, this project was wayyyy more fun than painting the kitchen cabinets!

Maria and I had been talking about making fall wreathes for our homes for quite a while now.  Both of us are obsessed with Pinterest and have been wanting to bring the wreathe ideas to life!  So the fun begins at Hobby Lobby....
 We had to make sure the size of the wreathe was just right.  Can we fit our heads through there??  Yes, score!

At Hobby Lobby we bought:

-wreathe (any size you want)
-hot glue gun and glue
-flowers
-your letter of choice
-large ribbon (make sure you get one that is wired on the edges so the bow stays in place)
-paint 

After our fun at Hobby Lobby, it was time to get to work. 
1.  We started by painting the letter we chose for the wreathe. 


 2. While the letters were drying we placed the flowers on the wreathe where we thought looked right.

 ( I felt the need to photo bomb her picture)

3.  Once the flowers were placed and the letters were dry, we placed the letters on the wreathe. This is where the hot glue gun came into play.

4.  Lastly we added the ribbon for hanging!  Such a simple project and we had SO much fun doing it...probably because we goofed off the whole time!

TA-DA!!!!  The finished product!!!

 
Maria's K for Kelly on her front door :)

My G for Gilfillan on our front door (slightly crooked but you get the point)

Total project cost was $30 dollars.  To get a good quality personalized wreathe would definitely be more, plus you don't get to spend quality time with the bf!  Once again...you get the biggest bang for not a lot of buck!

Also, if you're feeling a little bit hungry after all this reading, check out her blog with Savannah:

Our Biggest Project to Date!

Wow!!  I can't believe how long it has been since we last posted on this blog!  Clearly there is a lot of doing, and not a lot of writing.  To our families we apologize for not keeping you in the loop as much as what we wanted to!  We are going to try our hardest to not go so long again without posting!

So, this post is exactly what the name says....our  biggest project to date!  Who in the world is the crazy person who thinks painting your kitchen cabinets when you move in is a good idea?  My bad.  Looking back now though, we are so happy that we accomplished it and it's all done (for the time being)!  Here is a picture of our finished project thus far...


(Now all we need is a new counter top, hardware for the cabinets, and new appliances!)

I just want to tell you all, before you decide to become ambitious and do a huge project like this,  this was NOT an easy project.  Maybe it wasn't easy for us because we are first time diyers, but boy it took us a lot longer to complete than what we thought!  By the end of this project, our bellies and marriage were at wits end.  Bellies in the fact that I don't think I can consume anymore Jimmy John's for at least another year!  Marriage in the fact that we were both so sick of painting and seeing no results that we each gave up multiple times and left the work for the other person (never a good idea).  Not to deter all you guys out there because it is definitely a do-able project, but it's just not an easy one.  So enough rambling and lets get started on how we actually completed this project to look this pretty :)

Tools that you will need for this project:
-sandpaper (lots of it)
-paintbrushes
-paint rollers
-Paint (whatever color your heart desires)
-Primer
-Wood finish/gloss (we didn't use this but some people do)
-spray painter gun (not necessary and I will get to that)
-blue painters tape
-plastic sheet
-tack cloth

1. We first started by removing all the doors and the hardware from the doors.  We didn't have to empty out our cabinets because we had never moved in. (That was the genius idea during this project)

Now something that I read in someone else's blog, make sure you LABEL all of the doors and drawers before you take them down so you know exactly where they go when you put them back up.  That is why you see small pieces of duct tape on the counter.

2. This step is very important and you want to make sure you don't skip it.  You want to wash the cabinets.  I just used hot water and a teeny tiny amount of soap.  You want to make sure you get all the grease and grime off that accumulated throughout the years of cooking.  Once we cleaned, then we sanded down the cabinets.  

3.  After sanding, we washed it off again with just warm water.  Then once dried we took a tack cloth to get off all the extra sand that we may have missed (very important so you don't have little specs on your cabinets).

4.  Now, if you haven't already done so, we taped up all the cabinets and walls.  

(We used the plastic sheet to cover our appliances, floors, and counter tops)

5. Time for the exciting part!  You finally get to start priming all of the cabinets and drawers.  

As you can see we set up the cabinet doors and drawers in the garage.  If we could go back we would still set up in the garage...but NOT open up the garage door.  Whenever we opened the door little dust and flakes would come in (duh).  Our project kept getting ruined and we would paint and then have to sand..and so on and so forth.  

6.  After we finally put on the 2 coats of primer it was time to paint.  In total we put on 3 coats of paint (and maybe a few more in a couple of rough spots).  For the paint, Tony decided to go ahead and buy a spray paint gun because he thought it would be easier.  Not necessary though. After he did a coat, he didn't realize that you need to roll it to make sure that there aren't any extra "spots."  No biggy just added some more correction time.


Unfortunately, I don't have any pictures of Tony using the paint gun since we work opposite shifts most of the time :(

7.  Once all the painting is done it's time to hang up the cabinet doors and put in the drawers again!  Woohoo!!  We were done and it sure was time to celebrate! 

This project with the paint, paint brushes, primer, rollers, sandpaper, tack cloth, and tape (we aren't going to include the paint gun since that's not necessary and we already had the plastic wrap) that we had to buy cost us a little over $100 bucks.  I would say it was definitely worth the money!!

Let's compare how different our kitchen is finally starting to look from when we first moved in!

Slowly but surely it is making a come back to 2012!  Remember, they do say that patience is a virtue...